Sometimes, QuickBooks crashes, runs slowly, freezes, or closes unexpectedly. This might be due to data damage or corruption in your computer. When QuickBooks has stopped working and you try all the troubleshooting methods, the last thing you can do is uninstall QuickBooks Desktop and reinstall it.
However, when you uninstall QuickBooks Desktop, some files still remain on your computer, which might affect the performance when you install QB Desktop again. Therefore, instead of a normal reinstallation, you should perform a clean install of QuickBooks.
What is Clean Installation?
When you uninstall a program, such as QuickBooks Desktop, it is removed from the computer. However, the application files might stay on the computer. If the application is malfunctioning or running into issues, you will need to manually remove or delete these files before you install the program again. This is called a clean installation.
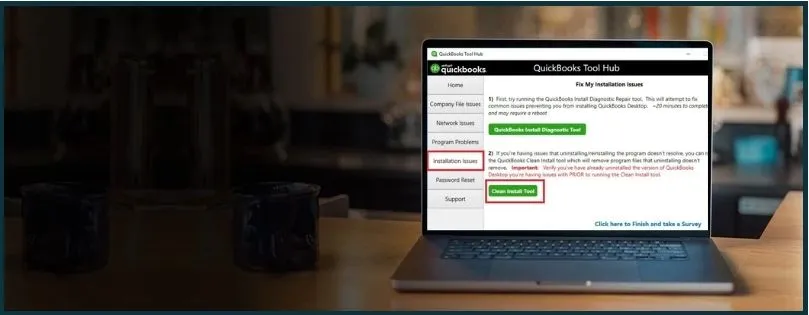
What Happened to the QuickBooks Clean Install Tool?
QuickBooks used to have a Clean Install Tool. However, Intuit has removed the tool, and now the users have to perform the clean installation manually.
Do not worry, as in this guide, we will show you how to clean install QuickBooks Desktop on Mac or Windows. We have created separate sections for Mac and Windows. Therefore, go to the section that best fits your query and perform the steps listed there.
Section 1: Clean Install QuickBooks Desktop for Windows
Let us see how to uninstall and reinstall QuickBooks Desktop in a clean, error-free manner. This section is for the Windows user. If you use QBDT on MacOS, proceed to the next step.
Carry out the steps given below in the order they are written.
Before You Uninstall QuickBooks Desktop
When you reinstall QuickBooks Desktop, you will need the product info and license to activate it. Therefore, keep your QuickBooks CD, or QuickBooks product info ready before you uninstall QuickBooks.
a. Uninstall QuickBooks Desktop
First, let us remove QB Desktop from your computer.
- Go to the Windows Start menu. Type Control Panel in the search box.
- Open Control Panel.
- Now, tap on Programs and Features or Uninstall a Program.
- Now, browse the list of programs and choose the version of QB Desktop that you wish to uninstall.
- Select the QB Desktop and tap on Uninstall/Change
- Tap on Remove, followed by Next.
Note: If you are not signed into Windows as an administrator, you might not see the option to uninstall a program. Therefore, log out of Windows and log back in as an admin user.
b. Remove the QuickBooks Files
Usually, many QuickBooks files are automatically deleted, but some still remain. Therefore, let us manually find the QuickBooks files on the system and delete them.
- To do so, first open File Explorer (you can do so either by pressing Windows + E keys on your keyboard or clicking the File Explorer icon on the taskbar).
- Now, find the folder that contains the QuickBooks company files. This is by default in these locations if you haven’t moved or renamed it:
- C:\Users\(current user)\AppData\Local\Intuit\QuickBooks (year)
- 64-bit version C:\Program Files (x86)\Intuit\QuickBooks (year)
- C:\ProgramData\Intuit\QuickBooks (year)
- C:\Program Files\Intuit\QuickBooks (year)
- Now, right-click the folder and choose Rename.
- Add .old at the end of the folder name. Now, QuickBooks won’t be able to open when you reinstall it.
Note: Don’t delete the company file (with .qbw extension)
Alternatively, if you are confident that you won’t need these files ever again, you can delete them. However, don’t delete the company file.
| If you get an access error message when you try to rename the folder, here’s what to do: ● Open Task Manager. To do so, press Ctrl + Shift + Esc keys together. ● Go to the Processes tab. ● Click on the Name column header. This will sort the list alphabetically. ● Now, one by one, click on these processes and then click End Process for each: ○ QBDBMgrN.exe ○ QBDBMgr.exe ○ QBCFMonitorService.exe ○ Qbw32.exe If you see the message, “WARNING: Terminating a process can cause undesired results…” tap on Yes. Now, you will be able to rename them. Go back and rename the company file folder again. |
Now, search for EntitlementDataStore.ecml and delete it as well. (If you can’t find the EntitlementDataStore.ecml file, navigate to C:\ProgramData\Intuit\Entitlement Client\v8 and check if it is there)
Once done, continue to the next step.
a. Install QuickBooks Desktop
Finally, install QuickBooks Desktop on your windows computer. Once done, open QuickBooks Desktop and browse the company file.
Note: You can copy the company file from the old folder (that you earlier renamed as .old), move it to a new folder, and open it from there.
Section 2: Clean Install QuickBooks Desktop for Mac
Similar to how you clean install QuickBooks for Windows, clean installation of QuickBooks Desktop Mac involves uninstalling it, deleting or renaming certain files, and installing QBDT again.
Let us see how to clean install QuickBooks Desktop for Mac.
Before You Uninstall QuickBooks Desktop
When you reinstall QuickBooks Desktop, keep the needed product info and license, as you will need them to windows activate it. Therefore, until you arrange QuickBooks CD or QuickBooks product info, don’t uninstall QuickBooks.
1. Uninstall QuickBooks Desktop
Here is how you can uninstall QuickBooks Desktop.
- Close QuickBooks Desktop.
- Tap on the Finder menu, then choose Applications.
- Delete the QuickBooks Desktop or drag it to Trash.
Now, let us delete the .plist files in Mac.
2. Delete the QuickBooks .plist files
Preference files that store registration and any preferences set within QuickBooks show .plist as file extension.
Let us delete the .plist files. This can cause your QuickBooks to be unregistered.
a. Delete User .plist files
Follow these steps to delete the .plist files for your user profile.
- Go to the Desktop.
- Now, go to the Finder menu and choose Go. Press and hold the Option key.
- Now, tap on Library and tap on the Preferences folder.
- Look for the .plist files that contain com.intuit.QuickBooks20XX.
(Note: XX is the QuickBooks version you’re using. You can do this for all the QuickBooks versions if you are planning to use them or face an issue with them as well.)
- Delete these files permanently. This means if you move these files to the trash, you have got to empty the trash after you finish moving the files.
b. Delete System .plist files
Now, let us delete these steps to delete the .plist files for your system.
- Go to the Desktop.
- Now, go to the Finder menu and choose Macintosh HD.
Note: If you can’t find Macintosh HD, you will need to enable it in your preferences. To do that, go to Finder and choose Settings. Navigate to the Sidebar tab and select the checkbox for Hard disks.
- Now, tap on Library and tap on the Preferences folder.
- Look for the .plist files that contain com.intuit.QuickBooks20XX.
(Note: XX is the QuickBooks version you’re using. You can do this for other QuickBooks versions you face an issue with.)
- Delete these files permanently. This means that if you move these files to the trash, you must empty the trash after you finish moving them.
3. Install QuickBooks Desktop
Now, install your QuickBooks Desktop for the Mac computer. Once done, open QBDT and browse your company file.
Summing It Up
This was all about how to clean install QuickBooks Desktop for Windows and MacOS. However, if you run into an error while installing QuickBooks Desktop or have a query, reach out to a QB ProAdvisor. Dial 800-580-5375!